By: Dr. Elizabeth Eggert
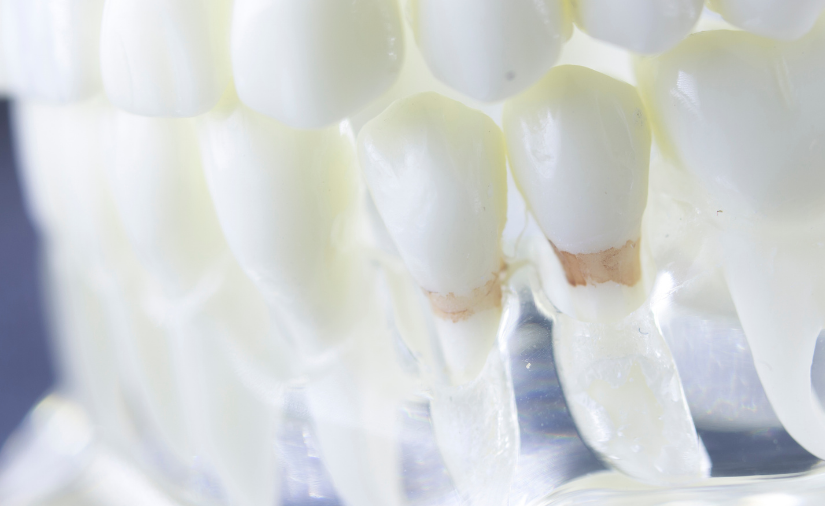
Tooth enamel plays a critical role in overall dental wellness. Its hard, translucent coating protects the crown of the tooth from bacteria that could compromise its integrity and lead to plaque buildup and tooth decay.
Fortunately, most enamel erosion can be prevented. In this post, we’re going to share five main ways you can preserve your enamel so it can help keep your smile healthy and strong for life.
Causes of enamel erosion and preventative measures
In order to know how to prevent enamel erosion, it’s important to understand what causes it.
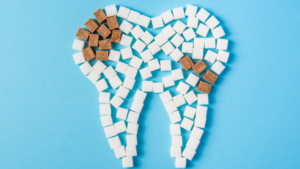 Cause: One of the biggest enamel-eaters starts because of sugar. When we consume sugary foods, the bacteria in our mouths break it down by producing acid. Not only does this acid break down the sugar but it also breaks down our enamel. The more frequently sugar is consumed, the more the enamel breaks down and the less protected your teeth are. Sugary foods can be anything from candy and energy drinks to even options considered healthy like sweetened yogurt and granola.
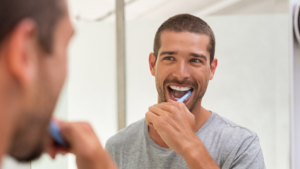
Tip #1: Prevent enamel erosion by limiting the consumption of sugary foods and beverages. If you do consume them, be sure to brush and floss an hour afterward to rinse your mouth and get any residual sugar out from inside, on or in between your teeth.
Cause: In our American diet, sugar or some form of sugar, is in nearly every mass-produced food. You can work to limit sugar by consuming more whole foods and choosing pure water to drink.
Also, keep in mind, soft drinks are a double whammy because they contain both sugar and acid.
 Tip #2: Prevent enamel erosion by limiting the consumption of acidic foods. When you indulge in acidic foods or beverages, brush and floss an hour afterward to clean out your mouth so acid doesn’t linger and cause enamel damage. You don’t want to brush and floss right after consumption of food and drink with acid because the acidic pH environment will allow your toothbrush to abrade the enamel away quickly. If you wait at least an hour, your saliva has a chance to neutralize your mouth.
Cause: Some foods and beverages are highly acidic. When consumed, the acids in foods such as tomatoes, citrus fruits, chocolate or your morning coffee, eat away at your enamel. In addition to acidic food, gastric acid reflux or upper airway based laryngeal/pharyngeal acid reflux will increase acid in the mouth.
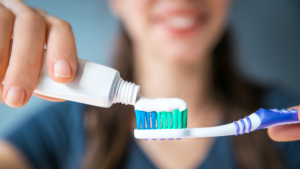 Tip #3: Prevent enamel erosion by making sure you’re using fluoride toothpaste and mouthwash. Fluoride is a naturally occurring mineral that, when added to toothpaste, mouthwash or your municipal water supply, helps remineralize lost calcium and phosphate ions and reinforce your teeth’s first line of defense, reducing chances of damage and decay.
Cause: Saliva helps neutralize acids in your mouth as well as rinse your mouth when you eat and drink. In some cases, medications can lead to a condition known as xerostomia or dry mouth. It can also be a naturally occurring phenomenon where a person’s salivary glands don’t produce enough saliva to rinse their mouth frequently. In these cases, bacteria feed off food particles and sugars hanging around in their mouth, causing a rise in acidity and leading to more enamel erosion.
Tip #4: Prevent enamel erosion by keeping your mouth from becoming dry.
There are some easy ways to protect enamel and increase saliva production.
- Sip water throughout the day. Bring a water bottle along to work or school to make hydrating easy.
- Suck on sugar-free candy. This increases your mouth’s saliva production and helps rinse bacteria.
- Chew sugar-free gum. This increases saliva production while at the same time helping to dislodge food particles and clean the surface of your teeth. All of these factors work towards preserving enamel and keeping your teeth strong.
Cause: Oftentimes, people ignore preventative care and consume large quantities of sugary and acidic foods and use chewing tobacco. Others binge drink which can lead to vomiting and ensuing enamel erosion. Then, when they start noticing tooth sensitivity or tooth decay, they finally make a dental appointment.
It’s important to remember that “an ounce of prevention is worth a pound of cure!”
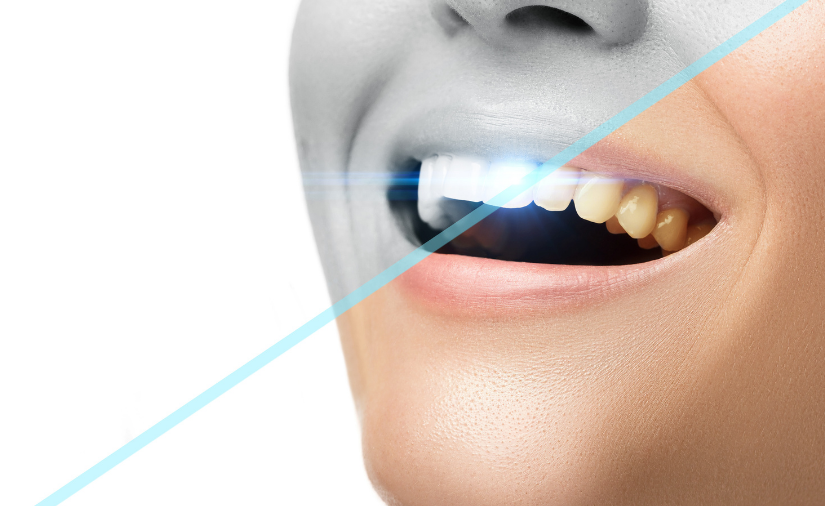
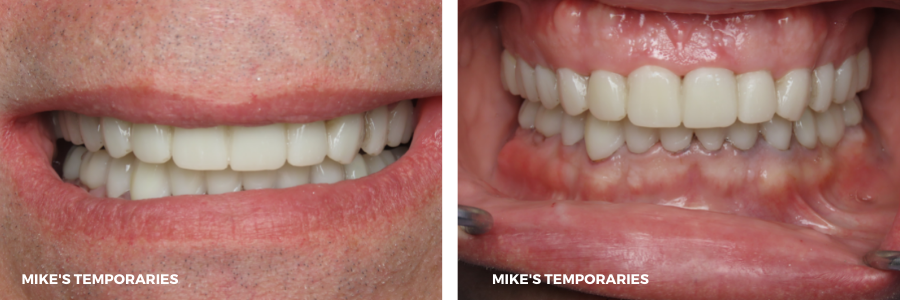
 Tip #5: Prevent tooth erosion by visiting Eggert Family Dentistry for regular cleanings! At your recare visits, we will polish your teeth to clean up your enamel, often lifting minor surface stains. We can also treat your teeth with fluoride to strengthen your enamel. We will assess the condition of your enamel and if it’s starting to wear away, Dr. Elizabeth or Dr. Jeff will recommend the best course of treatment: bonding, crowns or veneers.
If you’re noticing tooth sensitivity, tooth discoloration, cracks, chips or indentions in your enamel or if it’s time to get in for your next recare visit, give our office a call at 651.482.8412.


 There are many ways in which drinking water and staying hydrated contribute to your health, but drinking water also offers critical benefits to your oral and dental health as well.
 You may not realize that tooth decay thrives in a dry mouth. This is because saliva contains minerals such as calcium and phosphate, which help discourage tooth decay. Drinking water helps promote more saliva production in your mouth, which is more ammunition in the
  Morning breath and general bad breath is often caused by a dry mouth. Drink water throughout the day, and you will promote saliva production, which helps discourage the unwelcome stinky bacteria working in the mouth.
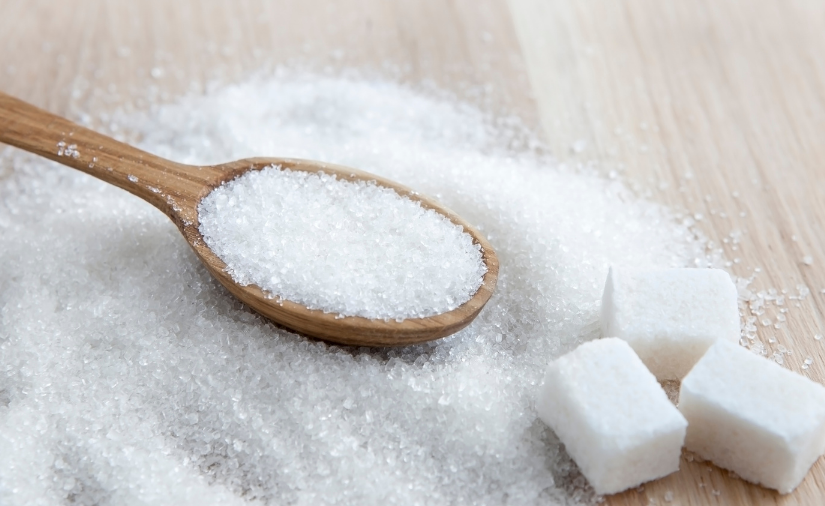
 While we don’t expect many people to give up sugar entirely, we do want to urge moderation. Some folks are calling sugar “the new smoking,” as it does have negative effects on our health, from dental cavities to weight gain to inflammation.
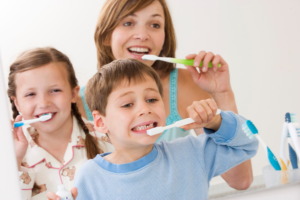 Of course, reducing sugar doesn’t reduce your obligation to brush and floss. Keep up your
 I am a foodie, I confess. As a dental hygienist I have had the opportunity to talk about nutrition, recipes and good eats with patients for over 30 years. Food is truly a universal language.


 There are a few primary ways you can keep plaque from getting the best of you (and your mouth)!
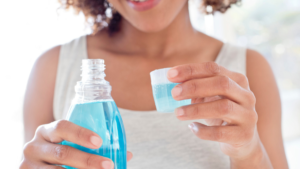 Swish with mouthwash. It’s easy to brush and floss but not take the process any further. When you swish with fluoridated mouthwash afterward, you dislodge any residual food particles. Plus, the
  Reducing sugars in your diet in addition to stepping up your oral hygiene game can combat plaque buildup before it becomes a bigger problem. A thorough polishing by one of our hygienists during your recare visit will also help reduce plaque on and in between your teeth.